Pendant Bail Size: 6–8mm, 8–11mm, or 15mm+ for Buyers & DIYers
Pendant bail size refers to the usable inside opening of the loop that holds your pendant to a chain, measured as inside height, inside width, and inside depth. The core rule is simple: that inside opening must be larger than the widest part that needs to pass through it (the chain body or its end hardware) with room to spare. As a fast reference, small pendants under 10mm thick usually pair with a 6 to 8mm opening, medium pendants need 8 to 11mm, and chunky or donut-style pieces call for 15mm or more.
TL;DR:
- The inside depth of the bail must exceed the pendant’s thickness, with 6-8mm for thin pendants and 15mm or more for chunky or donut-shaped pieces.
- Outside dimensions of the bail often mislead buyers; always ask for inside opening measurements to ensure proper fit with your chain and pendant.
- Measure the narrowest inside point of the bail and the widest part of the chain hardware for an accurate fit, adding 0.5 to 1.5mm clearance for real-world conditions.
- Heavy or irregularly shaped pendants require reinforced or custom-sized bails, often best fitted by a jeweler rather than relying solely on standard charts.
- Choosing the right bail involves matching pendant thickness with internal depth and ensuring end hardware can pass through the bail opening without tightness or looseness.
Table of Contents
- What Bail Measurements Actually Mean
- Bail Size Chart by Pendant Thickness and Chain Width
- Choosing the Right Bail Style for Your Pendant
- How to Measure Your Pendant, Bail, and Chain
- Fixing the Most Common Bail Fit Problems
- What a Jeweler Checks Before Matching a Bail
- What Most Sizing Advice Gets Wrong
- Get a Bail and Chain Matched Instead of Guessing
- Sources
- FAQ
What Bail Measurements Actually Mean
A bail has three numbers that matter: length (or height), width, and inside depth. Fire Mountain Gems and Beads notes that inside depth is the one that decides which pendants fit, since it measures the front-to-back gap the pendant slides into. Height and width, by contrast, describe the loop’s overall shape and how it will hang against the chain.
Here’s where a lot of buyers get tripped up. Sellers frequently list outside dimensions on product pages, the total size of the bail as an object, rather than the inside bail opening you actually need. Amaryllis Jewelry points out that shoppers should specifically ask for “inside bail” or “bail opening” measurements when that detail is missing, because outside dimensions tell you almost nothing about fit.
Break the three measurements down like this:
- Inside height: the vertical clearance, top to bottom, inside the loop.
- Inside width: the side-to-side clearance, which usually needs to exceed your chain’s link width.
- Inside depth: the front-to-back space, which determines the maximum pendant thickness the bail can grip.
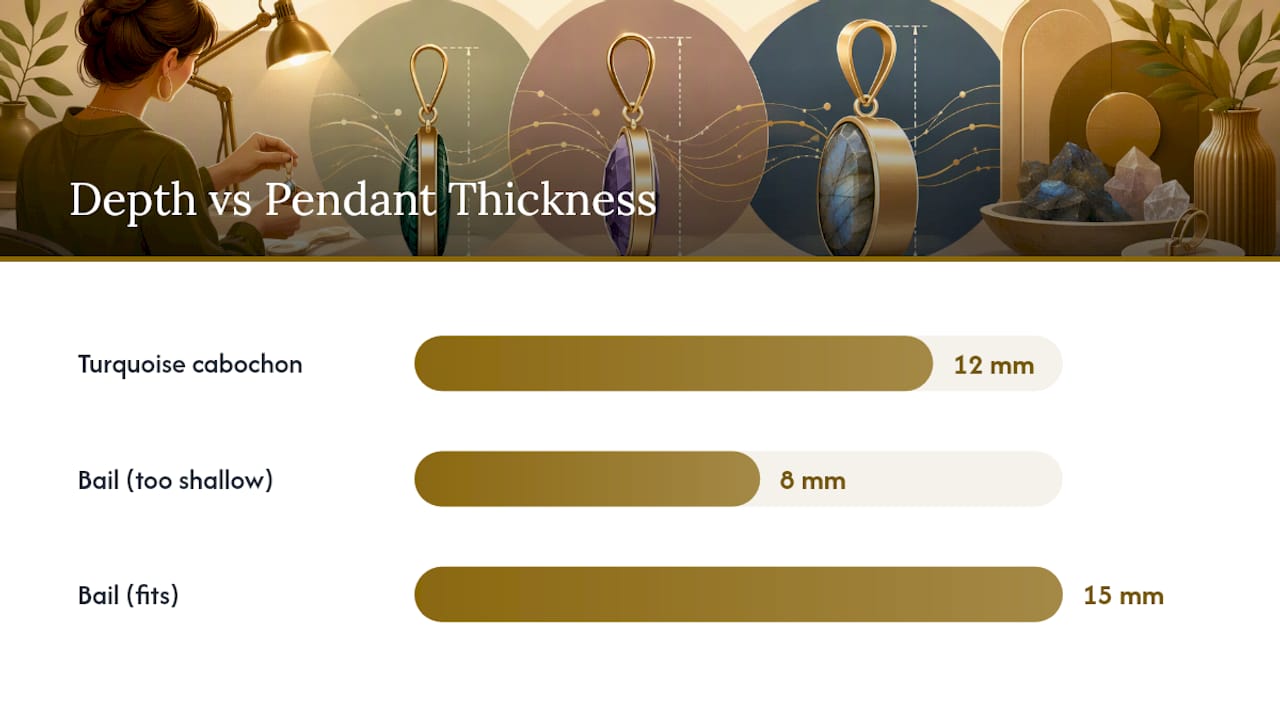
Picture a 12mm-thick turquoise cabochon paired against a bail with only 8mm of inside depth. The stone simply won’t seat. Now swap in a bail rated for 15mm inside depth, and the same stone sits flush with room to spare. That’s the entire game: match the depth number to the pendant, and match the width and height to the chain.
Bail Size Chart by Pendant Thickness and Chain Width
Numbers make this easier than guesswork. Amaryllis Jewelry’s guideline ranges, echoed across jewelry-findings retailers, give a workable starting chart for matching bail depth to pendant thickness:
| Pendant Thickness | Recommended Bail Inside Depth | Typical Pendant Type
|
|—|—|—|
| Up to 10mm | 6 to 8mm | Thin coins, small charms, flat gemstone slices |
| 10 to 25mm | 8 to 11mm | Standard cabochons, medium lockets, drilled beads |
| 25mm+ or donut-cut stones | 15mm or more | Chunky donuts, large freeform stones, statement pendants |
Chain width follows a similar logic, just applied to the loop’s inside height and width instead of depth. A delicate 1mm box chain needs far less clearance than a 3mm curb chain, but the number that actually limits fit is rarely the chain body. It’s the clasp, the end cap, or a soldered tag, whichever piece is widest has to clear the bail’s narrowest point. Inside depth is the dimension that determines pendant thickness compatibility, while inside width governs whether the chain and its hardware can actually thread through.
Shape matters too. Round and oval pendants generally need just one depth measurement, but teardrop, freeform, or asymmetrical stones can vary by several millimeters from one edge to the other. For those, record two axes instead of one, and size the bail to the thickest point, not the average.
Pro Tip: When a pendant’s thickness sits right on the line between two ranges, always round up to the larger bail size. A slightly loose fit is a quick jump-ring fix; a bail that’s even half a millimeter too tight often means starting over.
Choosing the Right Bail Style for Your Pendant
Not every pendant wants the same bail, and picking the wrong style causes more fit headaches than picking the wrong size does.
- Pinch bails work best on drilled or resin pendants. Measure the arm spread (how wide the pinching prongs open) against your drilled hole, not just the loop opening.
- Glue-on bails suit thin, fragile, or non-drillable pieces like sea glass or flat stone slices. The pad size and adhesive surface area matter more here than the inside depth, since there’s no hole to anchor into.
- Screw-eye or threaded bails handle heavier drilled stones. Match the hole diameter and thread pitch exactly, since a loose thread will eventually work itself free under the pendant’s weight.
- Donut and folding bails exist for large center-drilled pieces where a standard loop can’t span the opening; snap-on bails offer a decorative, tool-free option when you want to swap pendants between chains often.
Bluestreak Crystals notes that pinch bails and glue-on bails carry different measurement priorities entirely, arm spread versus pad size, which is why copying one bail’s specs onto a different style rarely works.
How to Measure Your Pendant, Bail, and Chain
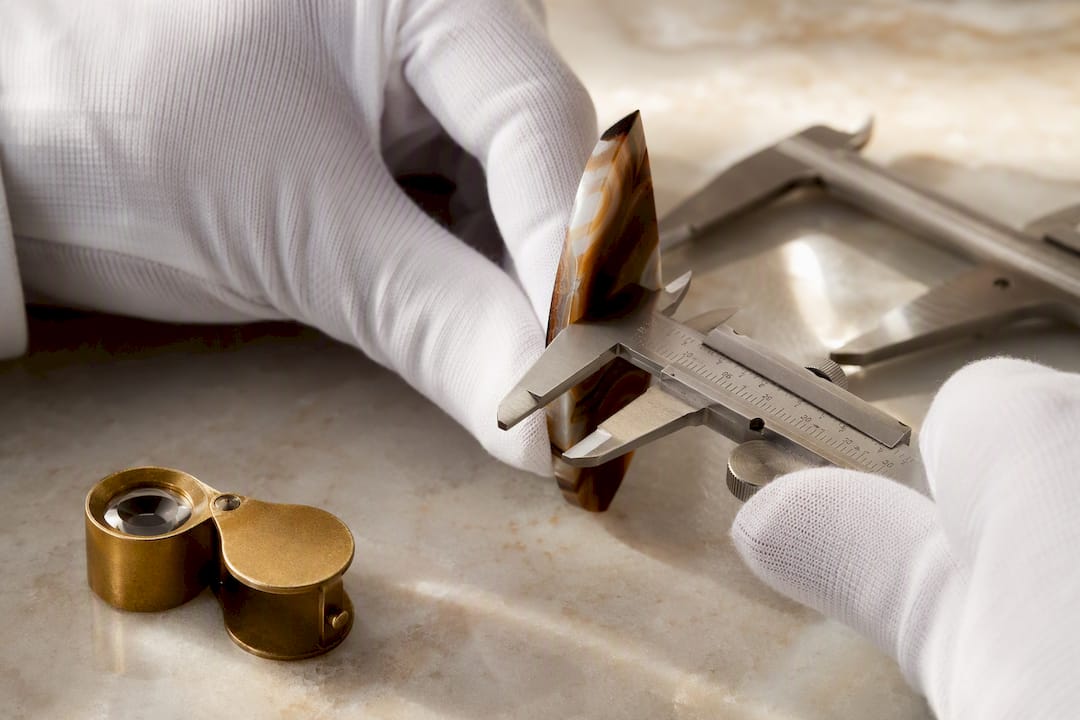
A caliper gives you the cleanest reading, accurate to a tenth of a millimeter, but a millimeter ruler works fine as a backup if you read it carefully at eye level.
- Measure pendant thickness at the exact point where the bail will sit, not at the thickest or thinnest edge of the whole piece.
- Measure the bail’s usable inside opening at its narrowest point. The bail’s inside opening, measured at its narrowest point, is what actually determines fit, so ignore the wider sections of the loop.
- Measure the widest chain-end component, whether that’s a lobster clasp, a soldered tag, or an end cap. Comparing both dimensions and building in clearance is what determines pendant chain compatibility, so this step can’t be skipped even on a chain that looks slim.
- Check the chain’s body profile where it will rest inside the bail, since curb and rolo chains sit differently than fine box chains even at similar widths.
Add roughly 0.5 to 1.5mm of clearance beyond your exact measurements. Product listings are often approximate, and real-world shapes are rarely perfectly uniform.
Pro Tip: Photograph the pendant’s backside next to a ruler before you buy a bail. Irregular openings and slightly warped drilled holes are much easier to judge in a photo you can zoom into than by eye alone.
Fixing the Most Common Bail Fit Problems
Most bail problems fall into one of four camps, and each has a straightforward fix.
- Bail too small: swap it for a larger one, add a jump ring or split ring as a bridge, or move to a slimmer chain instead.
- Bail too large: thread a small stabilizer bead or connector to keep the pendant centered instead of sliding side to side.
- Clasp or end hardware won’t pass: measure the hardware specifically, since buyers frequently overlook end-hardware width and assume a slim chain will automatically fit. A small split ring on the pendant side often solves it without replacing the chain.
The compatibility check really only asks three questions in order: will it pass through, will it sit correctly once it does, and will the proportions look right on the chain you chose.
What a Jeweler Checks Before Matching a Bail
A quick professional checklist: measure twice with calipers when possible, always request inside-opening numbers rather than outside dimensions, and add clearance based on shape, more for freeform stones, less for uniform rounds.
- Confirm pendant thickness at the attachment point, not the edge.
- Verify the bail’s narrowest inside point, not its widest.
- Match end hardware width before assuming any chain will work.
- Choose bail construction (threaded, soldered, pinch) based on pendant weight.
For a 10mm-thick pendant, a jeweler typically reaches for an 8 to 11mm inside-depth bail right away, then confirms the chain’s end cap clears the same opening before finalizing the piece. That two-check habit, matching Usajewels’s own pendant and chain fitting process, is what separates a pendant that hangs correctly from one that never sits straight.
What Most Sizing Advice Gets Wrong
Most guides treat bail size like a single number you look up once and forget. That’s backward. The measurement that actually causes returns and re-drilled holes isn’t the pendant thickness, it’s the end hardware on the chain, the clasp or cap that buyers almost never think to measure until the chain refuses to pass through a bail that looked perfectly reasonable on paper.
The conventional advice also oversells precision. Charts and ranges are a starting point, not a guarantee, because product listings vary in accuracy and stone shapes are rarely uniform. Building in that 0.5 to 1.5mm of clearance isn’t a nice extra step. It’s the difference between a pendant that hangs naturally and one that binds or sits crooked every time the chain shifts.
If you take one thing from this, prioritize measuring the narrowest point of the bail and the widest point of the chain hardware before anything else. Everything downstream, style choice, weight considerations, decorative preference, only matters once those two numbers actually agree.
— Joseph
Get a Bail and Chain Matched Instead of Guessing
Some jewelers skip the trial-and-error entirely: once you’ve got your pendant thickness and chain-end measurements, their in-house team matches the bail and chain for you instead of leaving you to test-fit hardware at home.

Because some jewelers manufacture in-house rather than sourcing from a middleman, they can custom-fit a bail to an unusual pendant shape or swap components without the markup a traditional jeweler adds for the same adjustment. That matters most for donut-cut stones, heavier gemstone pieces, or anything with irregular drilled holes, exactly the cases where a generic bail off a hanging rack tends to fail. Browse our sterling silver pendants or gemstone pendants collections, take your two measurements from this guide, and reach out with those numbers. If you already have a pendant and just need the right hardware, our diamond jewelry team can confirm a matching bail and chain combination before anything ships.
Sources
- Bail – Measuring – Fire Mountain Gems and Beads
- Pendant chain compatibility: bail, width & balance
- How to Properly Measure Your Pendant’s Bale Size for a Perfect Necklace Fit
FAQ
What is the bail of a pendant?
The bail is the small loop or fitting attached to a pendant that lets a chain or cord pass through, connecting the pendant to the necklace.
Can you put a bigger bail on a pendant?
Yes, as long as the pendant has enough material or a drilled hole wide enough to anchor the larger bail securely, though very large bails can look disproportionate on small pendants.
What is a good size for a pendant?
There’s no single right size, but bail opening should track pendant thickness: 6 to 8mm openings for pendants under 10mm thick, 8 to 11mm for 10 to 25mm pendants, and 15mm or more for chunky or donut-style pieces.
How do you choose the right size bail?
Measure the pendant’s thickness at the attachment point, measure the bail’s inside opening at its narrowest point, then compare both against the widest chain-end component before buying.
Recommended

Deep Mehta is the Co-Owner of USA Jewels, a family-owned jewelry business she has led since 2013 in Deerfield Beach, Florida. With over 13 years of hands-on experience in fine jewelry retail, manufacturing, and diamond importing, Deep specializes in engagement rings, wedding bands, and custom jewelry design. She also co-manages Kaash Group Talent Acquisition. Deep is a University of Florida graduate and oversees every aspect of USA Jewels’ operations, from product development to marketing.
Fine Jewelry Collection

You May Also Like

Top 6 TraxNYC.com Jewelry Alternatives 2026

Role of Center Stone in Engagement Rings: Full Guide